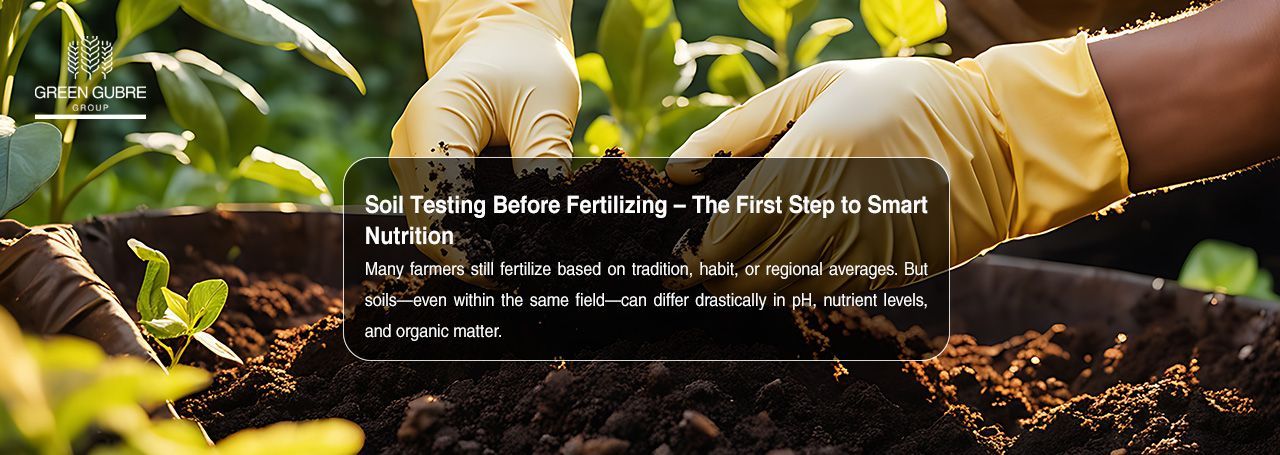
Soil Testing Before Fertilizing – The First Step to Smart Nutrition
Soil Testing Before Fertilizing – The First Step to Smart Nutrition

Introduction: Why Guessing is Risky
Many farmers still fertilize based on tradition, habit, or regional averages. But soils—even within the same field—can differ drastically in pH, nutrient levels, and organic matter. Applying fertilizer without a proper soil test is like prescribing medicine without a diagnosis: it's wasteful at best and potentially harmful at worst.
Soil testing is the foundation of precision agriculture. It tells you what nutrients are lacking, which are sufficient, and where imbalances exist so that you can tailor your fertilization plan accordingly.
What Is Soil Testing?
Soil testing involves collecting representative soil samples and analyzing them in a laboratory to measure:
- pH and EC (electrical conductivity)
- Macronutrients: Nitrogen (N), Phosphorus (P), Potassium (K)
- Secondary nutrients: Calcium (Ca), Magnesium (Mg), Sulfur (S)
- Micronutrients: Iron (Fe), Zinc (Zn), Manganese (Mn), Copper (Cu), Boron (B)
- Organic Matter and Cation Exchange Capacity (CEC)
The test results guide:
- Fertilizer type and rate
- Application timing and method
- Soil amendments (e.g., lime or gypsum)
Benefits of Soil Testing Before Fertilization
- Precision Fertilization – Apply nutrients only where needed
- Input Cost Savings – Avoid overuse of expensive inputs
- Environmental Stewardship – Minimize runoff, leaching, and nutrient loss
- Balanced Nutrition – Prevent over-reliance on a single nutrient (e.g., nitrogen)
- Improved Yield & Quality – Optimize crop growth and reduce nutrient stress
A well-calibrated soil test can boost fertilizer use efficiency (FUE) by 20–30%.
Source – Journal of Plant Nutrition
How to Take a Proper Soil Sample
- Divide the field into zones (by crop, texture, or history)
- Collect 10–15 cores per zone using a soil auger (15–20 cm deep)
- Avoid field edges, manure spots, and compacted areas
- Mix subsamples thoroughly and label clearly
- Send samples to an accredited lab with your crop and fertilizer history
For perennial crops (like orchards), sampling should be targeted at the active root zone.
Source – Fertilizer Focus Magazine
Interpreting the Results
Lab reports will categorize nutrient levels as:
- Low – Response to fertilization likely
- Medium – Maintenance applications needed
- High – No need for fertilization this season
It will also indicate soil pH, which affects nutrient availability. For example:
- Low pH (<5.5): Limits phosphorus, calcium, and magnesium
- High pH (>7.5): Locks up iron, zinc, and manganese
Corrective actions may include liming (for acidity) or sulfur applications (for alkalinity).
Source – CropLife International – Soil pH and Nutrient Uptake
Frequency and Timing
- Annually, for high-value crops, greenhouses, and vegetables
- Every 2–3 years for broad-acre cereals or pastures
- Sample in
the same season each year (ideally pre-planting or post-harvest)
Maintain records to track changes over time and evaluate the long-term effects of your fertilizer programs.
Source – FAO – Soil Health and Fertility
Green Gubre Group’s Soil Testing Support
We believe in data before decisions. That’s why Green Gubre Group offers:
- Professional soil sampling kits and training
- Lab analysis partnerships with regional and international labs
- Customized fertilizer recommendations based on test results
- Precision blending of NPK and micronutrient solutions
- Ongoing support from our agronomists to interpret and act on your results
Let science—not guesswork—guide your fertilization strategy.
Conclusion: Test First, Fertilize Right
Before you spend money on fertilizers, take the time to understand your soil. Soil testing empowers you to apply the proper nutrients, in the right amount, at the right time, and in the right place—the essence of innovative, profitable, and sustainable farming.
Informed fertilization isn’t just better for your crop—it’s better for your bottom line and the planet.


